REVIEW · VENICE
Photography workshop in the magical Venice (3h)
Book on Viator →Operated by Andrea Zavagnin · Bookable on Viator
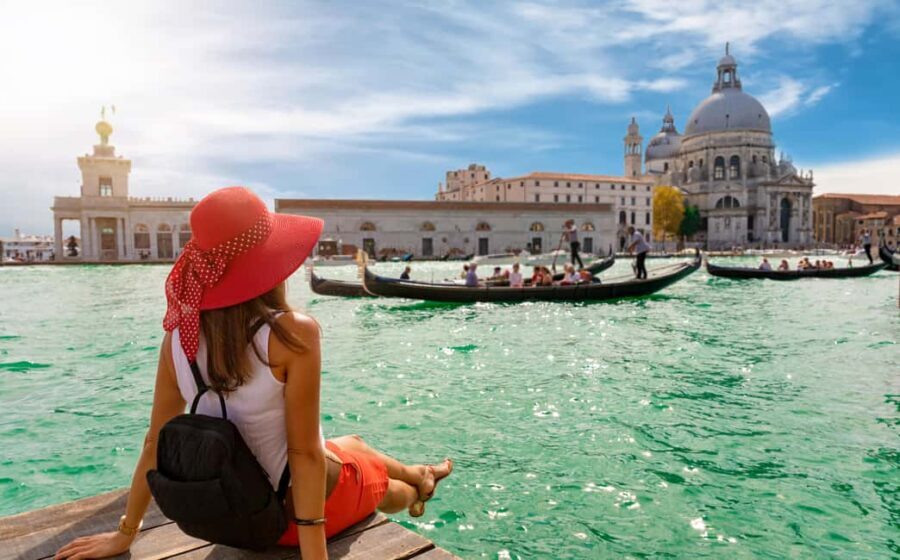
Venice can be camera candy. This 3-hour workshop turns that visual overload into repeatable photo skills you can use the minute you’re off the tour. You’ll move between big sights and quieter angles, learning street photography basics and architecture techniques while you practice with Venice as your subject.
Two things I especially like: Andrea asks smart questions about your camera experience and tailors the walking lessons to you, and the group is small (max 8), so you’re not lost in a crowd. One drawback to keep in mind is that you need to bring your own camera gear, since no equipment is provided.
In This Review
- Key highlights you’ll feel fast
- Why this Venice photo walk is worth your 3 hours
- The route: Santa Lucia to Rialto to San Marco (and back)
- Street photography lessons that actually change your results
- Architecture practice: framing Venice’s buildings without chaos
- Camera gear basics: you bring yours, Andrea brings the tripod
- How good value pricing works for a small, guided photo class
- Timing, weather, and the Venice access fee you might run into
- Who this workshop suits best
- Should you book this workshop?
- FAQ
- Where does the workshop start?
- What’s the route during the 3-hour session?
- How long is the photography workshop?
- What’s included for photography gear?
- Do I need my own camera equipment?
- How big is the group?
- Can children join for free?
- What if I’m visiting Venice from outside the city?
- What if the weather is bad?
- Can service animals join?
- Is there a cancellation window?
Key highlights you’ll feel fast
- Andrea Zavagnin tailors the walk based on your camera and your comfort level
- Real practice while walking, not a lecture that makes your feet numb
- Street + architecture focus, useful for both everyday scenes and landmark shots
- Tripod support from the guide, helpful if you don’t travel with one
- Small group size (up to 8) for hands-on help and quick feedback
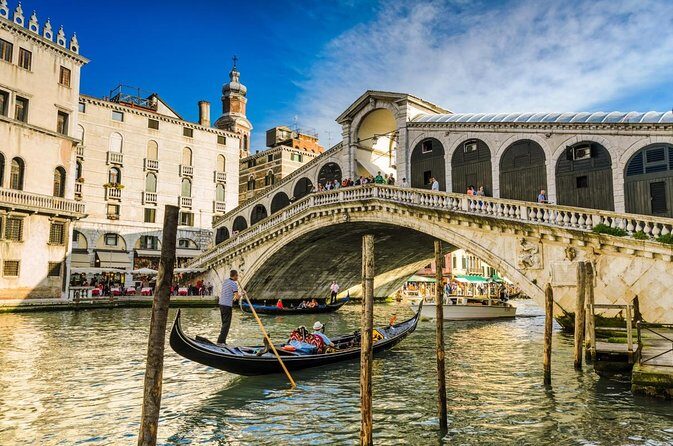
- Route includes Rialto and Piazza San Marco, with chances to look beyond the busiest paths
Why this Venice photo walk is worth your 3 hours
If you’ve ever tried to photograph Venice and ended up with a pile of half-right shots, this workshop is designed to fix that feeling. The goal isn’t to teach you a few fancy tricks. It’s to help you see what’s actually in front of you and then translate that into photos that look intentional.
I like that it starts with a simple premise: Venice has endless visual material, so you need a system. You’ll work on your creative eye while also learning practical camera techniques. That balance matters, because a great idea can still fail if your settings and composition aren’t doing their part.
The format is also friendly to normal vacation schedules. Three hours is long enough to learn and practice, but not so long that you burn your whole day. And since it’s a walk between major areas—Santa Lucia up toward Rialto and on to Piazza San Marco—you get classic Venice views plus guidance on how to capture them.
One more thing I appreciate: the workshop is built for different skill levels. The guide is there to adjust, not to force everyone into the same workflow.
You can also read our reviews of more photography tours in Venice
The route: Santa Lucia to Rialto to San Marco (and back)
The meeting point is Stazione di Venezia Santa Lucia. From there, the workshop moves on foot, heading toward Rialto and finishing at Piazza San Marco. The experience ends back at the meeting point, so it’s a loop walk rather than a point-to-point transfer.
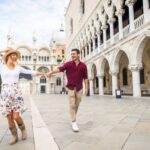
That route choice is smart for photography. Santa Lucia gives you rail-station energy and transitional moments—often great for street photography—while Rialto is where lines, angles, and architectural layers start stacking up. Piazza San Marco is the payoff zone, where you can apply what you learned to open space, large facades, and wide views.
What to watch for as you walk
- When you’re still near Santa Lucia, pay attention to how people move through the scene. That’s where street photos start to work: gesture, timing, and framing.
- As you approach Rialto, look for architectural relationships—edges meeting edges, repeated shapes, and the way buildings create natural frames.
- In and around Piazza San Marco, practice composing with more space in the frame. It’s easy to over-shoot here, so the guide’s prompts can help you slow down and choose.
A possible consideration: it’s a walking workshop. You should be ready for steady time on your feet. Venice can be uneven, and you’ll likely spend time stopping and setting up shots—especially if you’re working tripod moments.
Street photography lessons that actually change your results
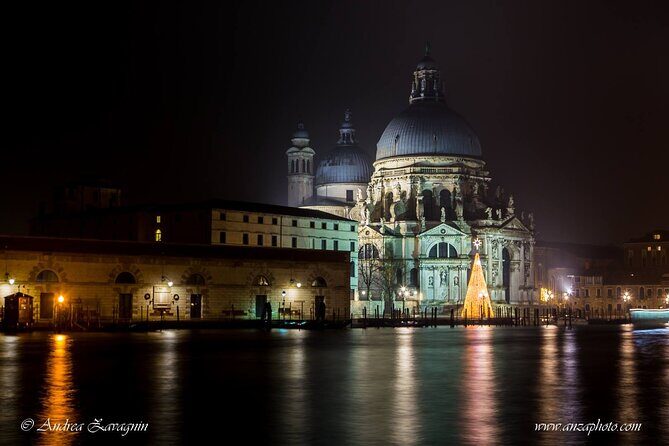
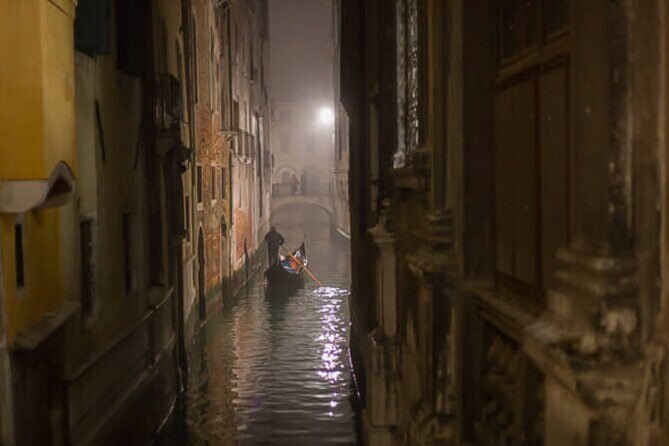
Street photography in Venice sounds obvious until you try it. The city is visual overload: water reflections, arches, shopfronts, boats, crowds, uniforms of architecture everywhere. Without a method, it’s easy to photograph the same postcard angle repeatedly, or to miss the small moments that make a photo feel alive.
This workshop focuses on street photography techniques while you’re out there walking. Based on what people learned in practice, the emphasis is on capturing scenes intentionally—then refining your camera choices so your photos come out crisp, balanced, and readable.
Common street-photo problems this kind of session helps with
- Your subject is too small in the frame
- Everything looks equally important (and nothing feels like the main story)
- Your composition is accidental, not chosen
- Your settings default you into flat, unreliable light
One of the best parts is the way Andrea interacts. He asks questions to understand your experience with the camera, then adjusts the route and the teaching accordingly. That’s the difference between a generic photo walk and something that improves your actual shooting.
Also, the workshop is small enough that you can get targeted suggestions. If you hold the camera wrong for your shot, or if you keep missing a composition opportunity, you can get feedback while you still have the scene in front of you.
Architecture practice: framing Venice’s buildings without chaos
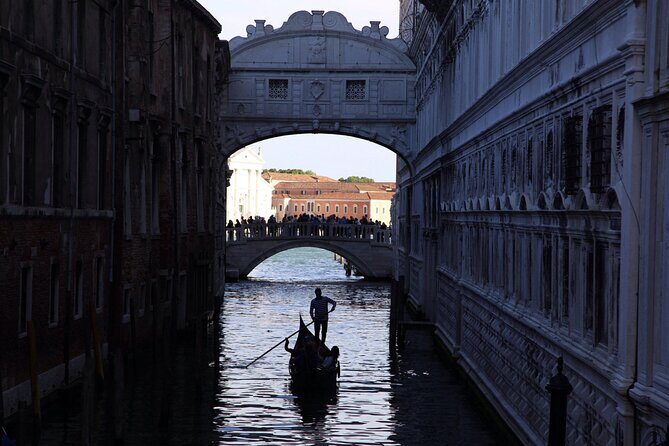
Venice architecture can be hard to photograph for a simple reason: the details are everywhere. You’ve got curves, facades, shadows, stone texture, and repeating windows or arches. It’s beautiful, but your camera doesn’t automatically know what to prioritize.
This is where the workshop’s architecture focus earns its keep. You’ll learn techniques meant for architecture shots—then you’ll practice using them around Rialto and on toward Piazza San Marco. The payoff is that your photos start to look like you chose them, not like you just pointed and recorded.
How to think about architecture photos while you shoot
- Look for geometric structure: lines and edges that guide the eye
- Decide what your photo is about: the whole facade or one relationship between elements
- Use framing to reduce clutter—arches, doorways, or corners can help
- Watch the light angle. Venice shadows can either add depth or hide the details you want
A useful detail from the experience: at least some sessions include time away from the most main tourist routes, which can help you find angles where the architecture isn’t swallowed by constant foot traffic. Even if you don’t go completely off the main flow, having coaching on composition makes your choices stronger when crowds do show up.
Camera gear basics: you bring yours, Andrea brings the tripod
No photography equipment is provided. You’ll need to bring your own camera and any gear you normally use. The good news is that Andrea brings a tripod.
That tripod detail can matter more than it sounds. A tripod helps with slower shutter speeds, stability for architectural detail, and sharper results when light fades. In Venice, where reflections and stone texture tempt you to shoot detail after detail, stability can improve your keep rate.
What you should bring
- Your camera and lens setup
- Any personal items you need for comfort on a walking tour
- If you own one, consider bringing a tripod too, but it’s already covered by the guide
If your camera is mostly set to auto, this workshop is a chance to learn how to take control. People mentioned learning ways to use the camera off auto and getting specific hints for composition. Even if you’re comfortable, these prompts can help you speed up your decision-making.
A practical tip: if you’re traveling with lots of lenses, don’t overcomplicate it. Choose one or two you know, and let the workshop guide your composition rather than your gear bag.
You can also read our reviews of more tours and experiences in Venice





How good value pricing works for a small, guided photo class
The price is $162.06 per person for about 3 hours. That’s not cheap, but it’s also not just you wandering Venice with a piece of paper. You’re paying for guided technique, real-time feedback, and a small-group format (max 8).
Here’s where the value usually clicks:
- Small group means more attention. You’re more likely to get corrections that instantly improve your next shot.
- Tripod included from the guide reduces equipment pressure if you didn’t plan for one.
- Tailored instruction (Andrea asks about your camera experience) means you’re not stuck in a one-size-fits-all lesson.
- A structured walking route from Santa Lucia toward Rialto and Piazza San Marco gives you a built-in shooting plan rather than guessing where to focus.
One more value point: when you learn camera technique in a place like Venice, you’re practicing in the exact visual environment that makes you want to photograph in the first place. That matters because the lesson connects to real scenes fast.
If you’re the type who likes taking photos but wants them to look more intentional, this is the kind of workshop that can save you time on your trip. Instead of spending days experimenting randomly, you’re learning with the city as your classroom.
Timing, weather, and the Venice access fee you might run into
This experience requires good weather. If it’s canceled due to poor conditions, you’ll be offered another date or a full refund.
Venice also has a day-visit access fee on certain dates. If you’re staying outside Venice and visiting for the day, you might be required to pay a €5 access fee on specific days. Check the official details at https://cda.ve.it, including exemptions.
A practical mindset here: plan to go only if the weather is cooperative. If rain or heavy conditions hit, the workshop may shift or cancel, so keep some flexibility if you can.
Who this workshop suits best
This is a strong choice if you:
- Want photos that look thoughtful, not accidental
- Like street scenes but feel stuck on composition or camera settings
- Are drawn to architecture and want a method for framing
- Prefer hands-on guidance while walking, not a seated class
It also fits mixed experience groups. Since Andrea asks questions about camera comfort, you can join even if you’re not fully confident yet. And if you’re an enthusiast with manual settings, you’ll still get prompts that help you refine what you’re doing.
It’s also worth noting that kids and teenagers up to 13 years old can participate for free, as long as you notify the organizer with the child’s number and age.
Should you book this workshop?
Yes, I think it’s worth booking if photography is a real part of your Venice trip and you want to leave with images that feel crafted. The small group size, the guided practice, and Andrea’s habit of adjusting based on your camera experience are the ingredients that typically turn a fun outing into a real skill upgrade.
I’d skip it if you want a purely self-guided Venice walk, or if you’re traveling super light and don’t have a workable camera setup. Since you bring your own equipment (with the tripod handled by the guide), it works best when you’re ready to shoot.
FAQ
Where does the workshop start?
It starts at Stazione di Venezia Santa Lucia, 30121 Venice, Metropolitan City of Venice, Italy.
What’s the route during the 3-hour session?
You’ll walk from Santa Lucia toward Rialto, then finish at Piazza San Marco, and the experience ends back at the meeting point.
How long is the photography workshop?
It lasts about 3 hours.
What’s included for photography gear?
Andrea brings a tripod. No other photography equipment is provided, so you’ll need to bring your own camera and gear.
Do I need my own camera equipment?
Yes. Participants must bring their own equipment.
How big is the group?
The group size has a maximum of 8 travelers.
Can children join for free?
Children and teenagers up to 13 years old can participate for free, but you must message the organizer with the number of children and their ages.
What if I’m visiting Venice from outside the city?
On some dates, a €5 access fee may apply for day visitors staying outside Venice. Check https://cda.ve.it for dates and possible exemptions.
What if the weather is bad?
The experience requires good weather. If it’s canceled due to poor weather, you’ll be offered a different date or a full refund.
Can service animals join?
Service animals are allowed.
Is there a cancellation window?
Free cancellation is available up to 24 hours in advance for a full refund.