REVIEW · VENICE
Venice Photography Masterclass – Private Photography Lesson
Book on Viator →Operated by Aperture Tours · Bookable on Viator
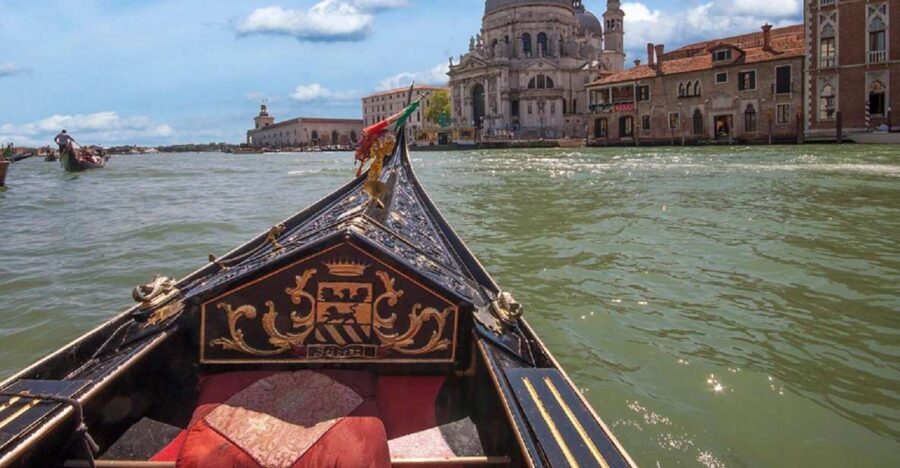
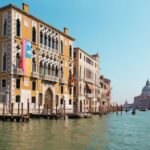
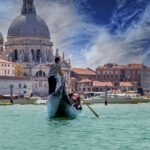
Venice becomes a camera lesson in real time. This private photo masterclass is designed for hands-on learning across daylight, sunset, and night—all while you photograph Venice landmarks with a pro. You follow a tailor-made route that can flex to what you want to shoot, not just what’s on a generic checklist.
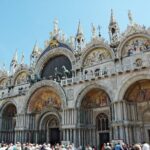
I especially like two things: you get practical instruction on the basics that matter (aperture, shutter speed, and ISO), and you practice those settings on iconic scenes like Rialto Bridge and St Mark’s Basilica area. A good teacher can mean the difference between random button-mashing and getting repeatable results.
One thing to consider: it’s a walking experience in central Venice, and transportation isn’t included, so wear good shoes and plan for lots of street-level time—especially if weather turns.
In This Review
- Key things that make this Venice photo masterclass worth your time
- Why this Venice private photo lesson feels different from a normal tour
- Price and what $204.25 per person buys you in Venice
- Before you go: what to know about timing, pace, and your meeting point
- How the instruction works: aperture, shutter speed, ISO (and why Venice makes it real)
- Your stops: Piazza San Marco, Rialto, Ponte dell’Accademia, and the Campanile
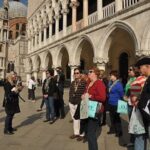
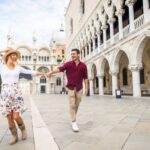
- Piazza San Marco: learning to tame bright stone and busy frames
- The City of Venice segment: building a repeatable shooting habit
- Ponte di Rialto: a classic subject with real lessons in perspective
- Ponte dell’Accademia: calmer framing and a different canal viewpoint
- Campanile di San Marco: shooting in iconic light
- Daylight to sunset: how to plan for Venice’s changing light without stress
- Night photography on the Grand Canal: long exposure tricks and light streak effects
- The most praised aspect: hands-on teaching that matches where you are
- Who this masterclass suits best (and who might skip it)
- Quick checklist before booking
- Should you book this private Venice Photography Masterclass?
- FAQ
- How long is the Venice Photography Masterclass?
- Where do I meet, and where does the tour end?
- Is this tour private?
- What language is the photography lesson offered in?
- What’s included in the price?
- What are the main camera skills you’ll work on during the lesson?
- Which Venice landmarks are part of the planned stops?
- Does the masterclass run in bad weather?
- Is there an access fee for day-trippers staying outside Venice?
- What is the cancellation policy?
Key things that make this Venice photo masterclass worth your time
- Private coaching with a professional photographer guide (max 4 people per booking)
- Settings you can actually use: aperture, shutter speed, ISO, and shooting modes for different light
- Landmark practice at Piazza San Marco, Rialto, and the San Marco Campanile area
- Sunset training focused on twilight color and composition
- Night photography skills on the Grand Canal, including long-exposure style effects
- Flexible itinerary so your shots match your interests (not a fixed script)
Why this Venice private photo lesson feels different from a normal tour
Venice is a hard place to photograph if you’re learning on your own. Light changes fast, buildings reflect bright stone, and the water adds its own texture. This masterclass tackles that head-on by teaching you how to set your camera for what you’re actually seeing, then giving you a chance to practice while you’re still in the scene.
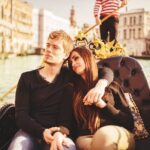
The “private” part isn’t just marketing. With a small group (up to 4), you can ask questions and get feedback while you’re standing on the spot. That matters in Venice, where moving ten steps can change the light, reflections, and what’s in your frame.
I also like the pacing. The lesson is spread across multiple lighting conditions in one evening-type flow: bright day views, then a sunset stop, then night work along the canal. You’re not stuck with only one mood. You leave with photos that cover more of Venice’s personality.
You can also read our reviews of more private tours in Venice

Price and what $204.25 per person buys you in Venice
At $204.25 per person for about 3 hours, this isn’t the cheapest thing you’ll do in Venice. But it’s also not priced like a standard “see the sights” tour. You’re paying for two guides in one setup: a local guide plus a professional photographer guide, with instruction that’s meant to improve how you shoot.
Here’s the value breakdown that makes sense for most people:
- You’re learning camera settings and composition, not just taking pictures.
- You’re practicing on major Venice locations, so each new technique has a real subject.
- You get nighttime instruction, which many tours skip because it’s trickier (and more timing-sensitive).
If you’re the type who wants better photos but still wants a fun, social walk through the city, this tends to be a good match. If you only want casual snapshots and you’re already comfortable in manual settings, you might feel it’s more coaching than you need—but you can still use the scene practice.
Before you go: what to know about timing, pace, and your meeting point
You’ll meet at Campo San Vidal (Campo S. Vidal, 30124 Venezia VE). The activity ends back at the same meeting point, so you don’t need to re-plan your evening route afterward.
The tour is offered in English and you’ll receive confirmation at booking time. You also get a mobile ticket, which is convenient in a city where paper gets lost and schedules are tight.
Transportation and hotel pickup are not included. That’s normal for central Venice, but it matters for planning: make sure you’re already near the meeting area or comfortable getting there by public transport.
And it runs in all weather. The instruction is always practical here: Venice weather can turn fast, so dress appropriately. Bring a rain layer even if the forecast looks fine. You’ll still want to shoot, and wet surfaces can also give you more reflection for photos.
How the instruction works: aperture, shutter speed, ISO (and why Venice makes it real)

The session starts by getting you familiar with your camera and then guiding you through the big three: aperture, shutter speed, and ISO. The goal isn’t complicated theory. It’s getting you to understand what each setting changes in your final image so you can react quickly when the scene shifts.
A simple way to think about it as you learn:
- Aperture helps control how much is in focus.
- Shutter speed helps control motion and light gathering.
- ISO helps manage brightness when light gets weaker (like at sunset and night).
You’ll also practice composition choices—creative camera angles, focal points, and framing—because Venice rewards viewpoint changes. A slightly lower angle near water can make the buildings look taller. A tighter crop can hide distractions like random poles and keep the story clean.
If your camera has both manual control and semi-automatic modes, the teaching typically helps you understand when to use which. For night work especially, the difference between Manual and modes like AV can be the difference between a clean exposure and a noisy, muddy one.
Your stops: Piazza San Marco, Rialto, Ponte dell’Accademia, and the Campanile

This masterclass follows a tailored path, but the core stops are built around the most photogenic areas you’d want to master in Venice.
You’ll spend roughly 30 minutes at each of these:
1) Piazza San Marco
2) City of Venice (a city-stops segment around the area)
3) Ponte di Rialto
4) Ponte dell’Accademia
5) Campanile di San Marco
Admission tickets are listed as free for these stops, which helps keep your experience straightforward.
Here’s what each area tends to teach you, beyond the postcard view.
You can also read our reviews of more photography tours in Venice

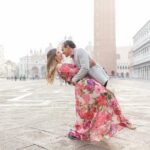
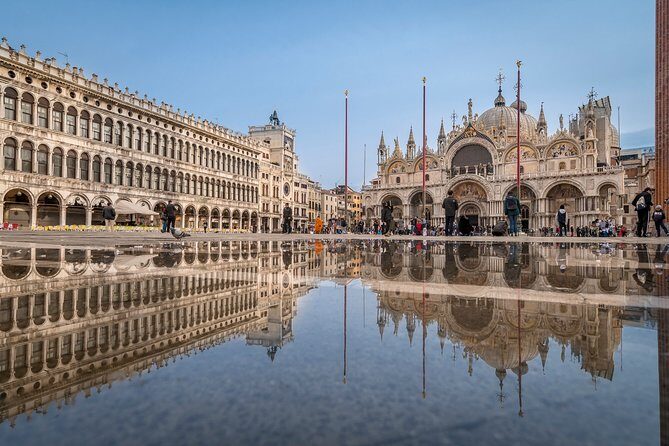
Piazza San Marco: learning to tame bright stone and busy frames
Piazza San Marco is great but tricky. Bright surfaces can blow out highlights if your settings aren’t set correctly, and the space can tempt you into wide shots that include too much.
This stop is meant for you to practice around the square’s key visuals and learn how to frame efficiently. You’ll work on finding a composition that feels intentional rather than crowded.
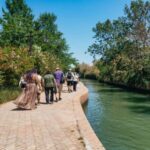
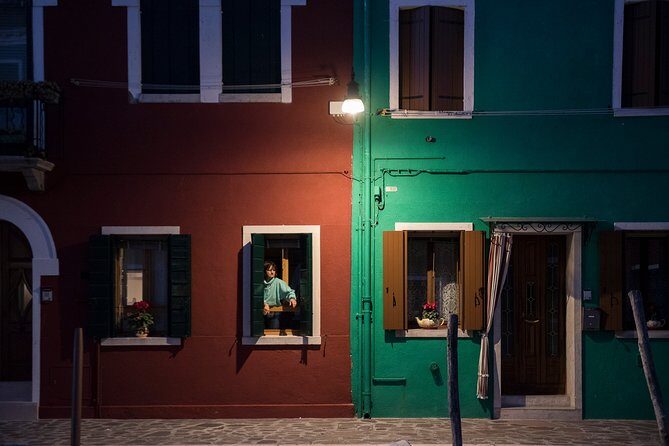
The City of Venice segment: building a repeatable shooting habit
This part is less about one single monument and more about learning how to shoot the city itself. It’s where you tend to notice patterns: where reflections happen, where the light sits on façades, and how angles change the feel of a street.
It’s also a good moment to ask questions, because the guide can help you adjust settings for a scene that isn’t always the same brightness from one corner to the next.
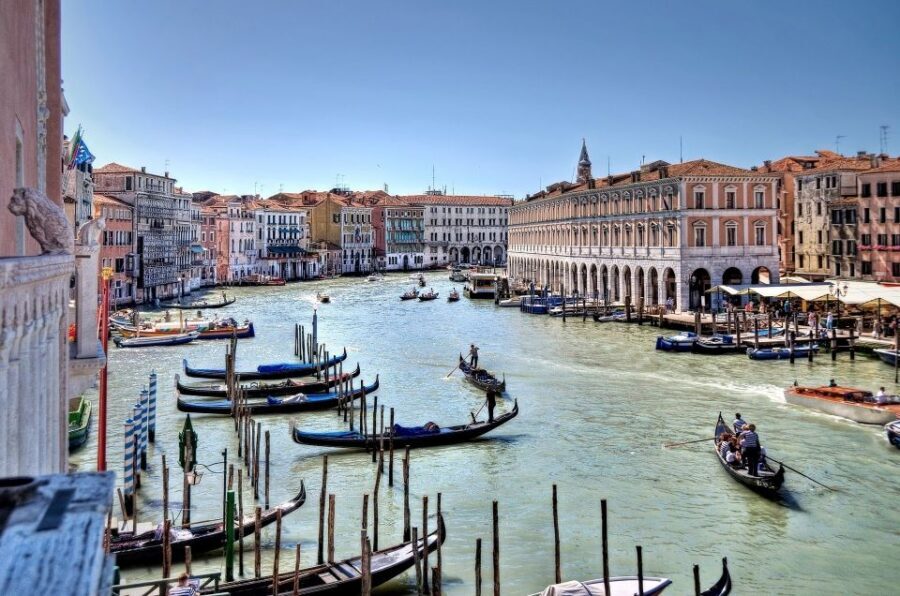
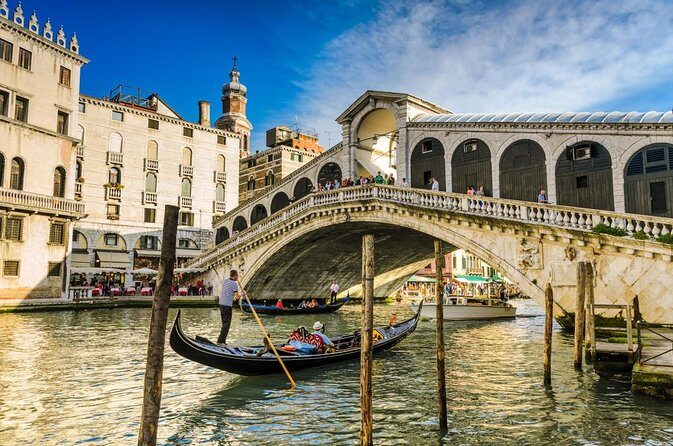
Ponte di Rialto: a classic subject with real lessons in perspective
Rialto Bridge is iconic. It also creates strong lines and repeating geometry, which makes it a perfect place to practice composition and camera angles.
You’ll likely experiment with focal points—where you place attention in the frame—and how to use the bridge and surrounding water reflections without letting the image look flat or overexposed.
Ponte dell’Accademia: calmer framing and a different canal viewpoint
This bridge area gives you another angle on Venice’s water-and-building mix. It’s helpful when you already did Rialto and now you want practice with a different visual structure.
This is the stop where you can refine your approach: tighter frames, cleaner lines, and settings that hold up across changing light.
Campanile di San Marco: shooting in iconic light
The Campanile area is a chance to practice how Venice landmarks look when the sky is bright and the stone is reflective. You’ll work on getting the exposure right while still capturing details.
It’s also a good moment for your guide to steer you toward compositions that feel less like a screenshot and more like a well-considered photo.
Daylight to sunset: how to plan for Venice’s changing light without stress
The lesson is built to move you through lighting shifts, which is exactly what you want on your trip. Venice at noon and Venice at twilight can feel like different cities, and camera settings change with that.
In daylight, you’re mainly training your eye to choose camera settings that hold detail and avoid blown highlights. During sunset practice, you’re shifting toward warmer tones, longer shadows, and the challenge of mixed lighting.
You’ll seek out scenic spots to watch the sunset and capture Venice at twilight. The coaching focus here is on getting you to control exposure and composition rather than just hoping the camera nails it.
A practical tip: if you’re trying to capture both architecture and sky color, your exposure choices matter more than people expect. A guide can help you avoid the all-too-common result—great-looking sky, but dark buildings (or the reverse).
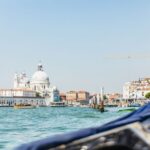
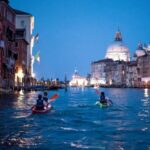
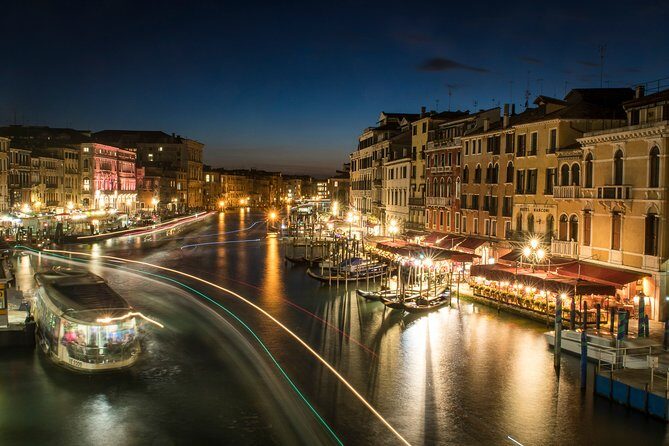
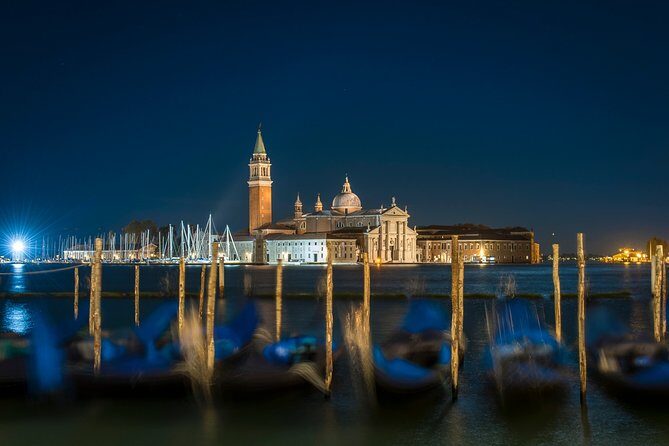
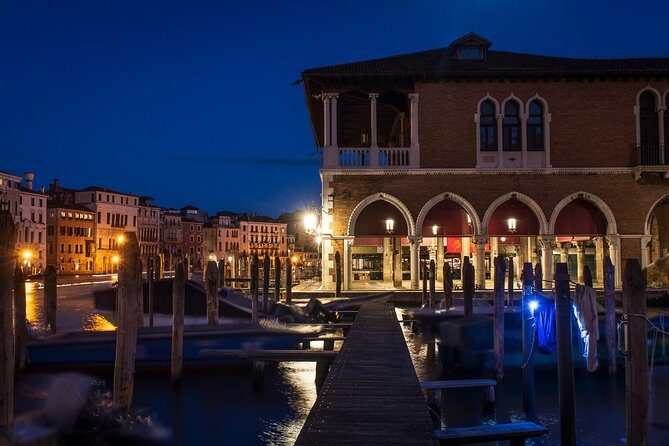
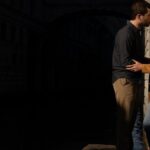
Night photography on the Grand Canal: long exposure tricks and light streak effects
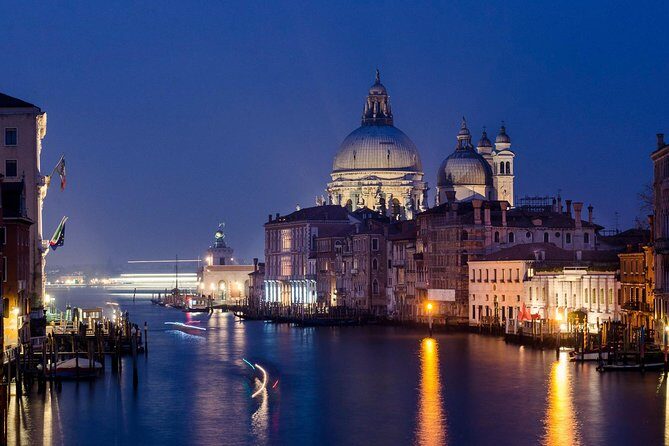
Night in Venice is where photos can go from pretty to magical—if you’re using the right approach. After the sunset segment, you’ll stroll along the Grand Canal to introduce night photography techniques.
The instruction includes ideas like:
- Light painting
- Long exposure light streaking
This is where shutter speed and ISO become your main tools. Longer exposures can turn moving lights into soft trails, and they can also reveal textures in dark reflections on the water. But too much ISO can add noise, so learning how to balance exposure is part of the skill-building.
One practical detail from real teaching moments: if your tripod isn’t available, a mini tripod solution can still work for night setups. That matters because night photography often benefits from stability, especially if you’re experimenting with long exposures.
You’ll end your evening back at the central meeting point with a camera full of memories—and, more importantly, a better sense of what to change next time you’re back on your own.
The most praised aspect: hands-on teaching that matches where you are
The strongest theme here is teaching that meets you where you’re at. If you’re new to your camera or returning to photography after a long break, the lesson is built for that. You start by learning how to set the key controls, then you practice immediately on real Venice scenes.
A nice example of the coaching style you might experience: Marco has taught night shooters how to work in Manual versus AV and coordinate the camera timer with manual settings to get strong nighttime results. That’s the kind of practical explanation that actually helps, because it connects your menu choices to your final photo.
And if your guide is someone like Nicoletta, you can expect a mix of clear photography instruction and confident local guidance around Venice, which helps you not just take better pictures but also understand where you are in the city while you shoot.
Who this masterclass suits best (and who might skip it)
This is a great fit if:
- You want better photos but you’re tired of guessing your camera settings.
- You want to cover multiple Venice “moods” in one guided session: bright, sunset, and night.
- You like learning with direct feedback while you’re standing in front of the subject.
It might be less ideal if:
- You already shoot confidently in manual and know exactly how you want to approach Venice night photography.
- You don’t want a lesson and would rather just roam independently with a photo list.
- You have limited ability to do extended walking in central Venice (since transport is not included and you’ll be moving between stops).
Quick checklist before booking
- Bring your camera and any accessories you already use.
- Plan for walking and variable weather—dress appropriately.
- If you have one, a tripod can help for night work, but you should be prepared to adapt if your setup isn’t ready.
- If you’re visiting from outside Venice for the day, check whether a small access fee applies on your date.
Should you book this private Venice Photography Masterclass?
If your goal is to leave Venice with images you’re proud of—and the skills to repeat that success later—this is a strong booking. The mix of landmark practice plus instruction across daylight, sunset, and night is what makes it feel like more than a city walk with a camera.
Book it early if you can, since it’s commonly reserved ahead (it’s often booked about two to three weeks out). And if you’re a beginner or returning to photography, the structure is exactly what you need: settings first, then practice immediately on Rialto and St Mark’s area.
If you’re purely chasing a cheap photo moment, it may feel pricey. But if you want coaching and repeatable results in one session, this is good value for Venice.
FAQ
How long is the Venice Photography Masterclass?
It lasts about 3 hours (approximately).
Where do I meet, and where does the tour end?
You meet at Campo San Vidal (Campo S. Vidal, 30124 Venezia VE, Italy), and the tour ends back at the same meeting point.
Is this tour private?
Yes. It’s a private tour/activity, and only your group participates. The maximum is 4 people per booking.
What language is the photography lesson offered in?
The experience is offered in English.
What’s included in the price?
The included items are a local guide, a professional photographer guide, and a private walking tour.
What are the main camera skills you’ll work on during the lesson?
You’ll learn how to set aperture, shutter speed, and ISO, and you’ll practice shooting in different lighting conditions, including daylight, sunset, and night.
Which Venice landmarks are part of the planned stops?
Planned stops include Piazza San Marco, Rialto Bridge (Ponte di Rialto), Ponte dell’Accademia, and Campanile di San Marco.
Does the masterclass run in bad weather?
Yes. It operates in all weather conditions, so you should dress appropriately.
Is there an access fee for day-trippers staying outside Venice?
On certain dates, people staying outside of Venice who are planning to visit for the day may need to pay a €5 access fee. You’ll want to check the official details at https://cda.ve.it for applicable days and exemptions.
What is the cancellation policy?
Free cancellation is available. You can cancel up to 24 hours in advance for a full refund. If you cancel less than 24 hours before the start time, the amount paid isn’t refunded. Cut-off times are based on the local time of the experience.