REVIEW · VENICE
Venice Photography Walking Tour with Private Guide
Book on Viator →Operated by Experience Paris · Bookable on Viator
Venice looks different through a camera lens. This tour gives you private guide attention as you move from famous sights into quieter neighborhoods, with photography lessons built in. I love that you can choose a daytime route for markets and people shots or a sunset option for lagoon light and city reflections. The main drawback is simple: you need some basic camera know-how and you will walk a lot in 3 hours.
What makes this feel special is the way the guide teaches you to see. Guides like Vinicio and Mario bring a local, everyday-Venice perspective, plus hands-on help with composition, perspective, lighting, and even how to tell a visual story. Expect patience for beginners too, from setting up manual controls to making smartphones shoot better.
This is also very flexible. Your guide plans where you go within the time you have, and they’ll welcome everything from smartphones to advanced digital and SLR cameras. If you are not interested in learning photography at all and just want pure sightseeing, you might feel the lesson focus is more than you expected.
In This Review
- Key things to know before you go
- Why a Venice photography walking tour beats “just taking pics”
- Daytime Venice: Rialto Market, Mercerie, and smart ways to shoot people
- Sunset option: Bridge of Sighs, lagoon light, and glowing St Mark’s reflections
- Your guide’s teaching style: Vinicio and Mario’s hands-on critiques
- Itineraries that feel flexible: how you get “your Venice” in 3 hours
- Gear and readiness: what “basic knowledge” really means
- Price and value: is $271.54 per person worth it?
- Who should book this Venice photography tour?
- Should you book it?
- FAQ
- What is the duration of the Venice photography walking tour?
- Is the experience private or shared?
- Where does the tour start?
- What’s the difference between the daytime and sunset tours?
- Can I bring a smartphone, or do I need a camera?
- Do I need to know how to use my camera?
- Does the tour run if it rains?
- Are tickets or admission included?
- Is food included?
- Do I need to pay any special access fees?
- Cancellation: can I get a refund?
Key things to know before you go
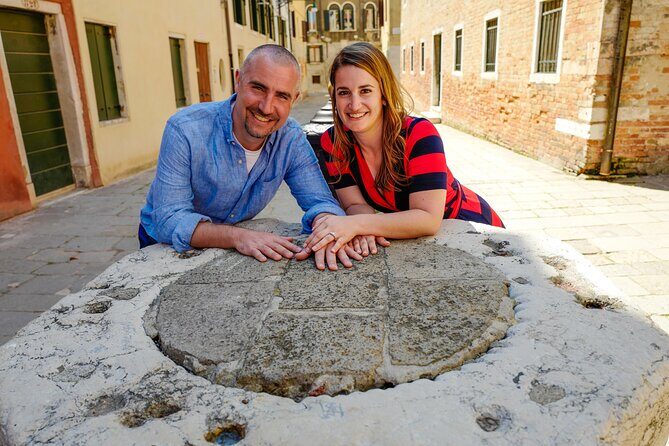
- Private photographer guidance with room for your questions, your camera, and your photo goals
- Day vs sunset timing: markets and crowds in daylight, then Bridge of Sighs and glowing St Mark’s after dusk
- Less-crowded Venice streets where you can photograph real life, not just tourist pose lines
- Practical teaching: composition, lighting, perspective, and respectful ways to shoot people
- Works for smartphones and cameras if you know the basics of your device
- Route flexibility so you can tailor the walk to what you want to photograph
Why a Venice photography walking tour beats “just taking pics”
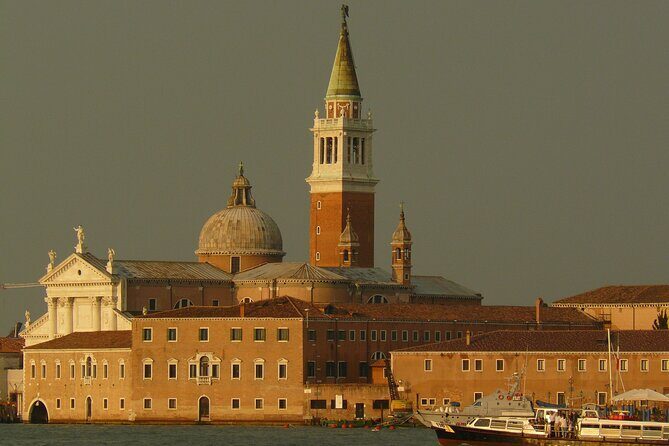
In Venice, the streets are narrow, the light changes fast, and your best photo often depends on where you stand for a few seconds. A walking tour with a professional photographer guide helps because you stop guessing. Instead, you learn how to frame scenes, control exposure choices, and spot photo moments as you pass them.
I like that this isn’t a one-size-fits-all “stand here and shoot” experience. The guide custom plans the photo route within the 3-hour window, so you can chase what you actually care about: markets, canals, architecture, people, or quiet corners. And because the tour is private, your questions do not get lost in a crowd.
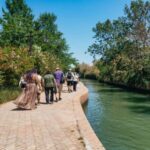
One more value point: Venice is a city of details. If you’ve only photographed St Mark’s Square from the busiest edges, you’ll miss a lot of the city’s visual storytelling. This tour nudges you toward side streets and canals where everyday Venetians live and where your photos look more like Venice and less like a postcard checklist.
You can also read our reviews of more walking tours in Venice
Daytime Venice: Rialto Market, Mercerie, and smart ways to shoot people
For the daytime option, the vibe is about motion and texture. You’re out in the hours when the city is active, and that means great chances to capture human scale: faces, gestures, shop scenes, and the layered geometry of old buildings.
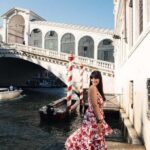
A big anchor stop is the Rialto Market area, where you can photograph colorful stalls and busy activity in an open-air setting. This kind of location is perfect for learning how to build a shot with more than just buildings in the frame. You’ll practice how to position yourself so the scene tells a story, not just shows merchandise.
You’ll also work through the Mercerie district, a shopping corridor where the energy comes from passing people, storefront rhythm, and small visual surprises at the edges of your frame. The guide’s tips for composition matter here because you’ll quickly notice how easy it is to capture a crowded image that feels messy. The lesson is how to simplify the view without losing Venice’s character.
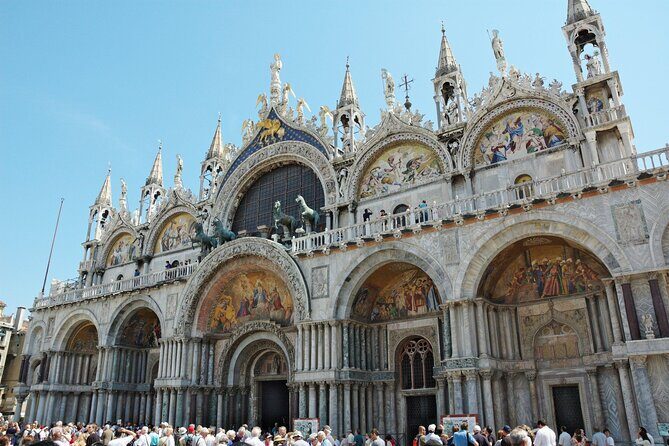
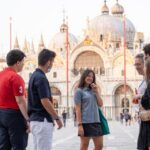
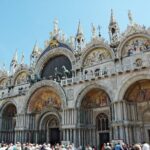
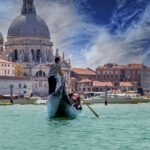
St Mark’s Square is in the mix too, but the focus shifts to how you frame it. Rather than getting stuck with the same wide shot everyone takes, you learn ways to photograph its most recognizable landmarks in a way that feels more intentional. In practice, that means paying attention to lines, reflections, and the way the square opens up around you.
There’s also a lesson thread about photographing people respectfully and skillfully. That’s useful in Venice where you can run into ethical and practical issues fast: where to stand, when to ask, and how to capture movement without turning people into props.
If you choose daytime, go in with comfortable walking shoes and a patient mindset. This is the kind of tour where the best photos often come from watching the light and timing, not from sprinting from one famous landmark to the next.
Sunset option: Bridge of Sighs, lagoon light, and glowing St Mark’s reflections
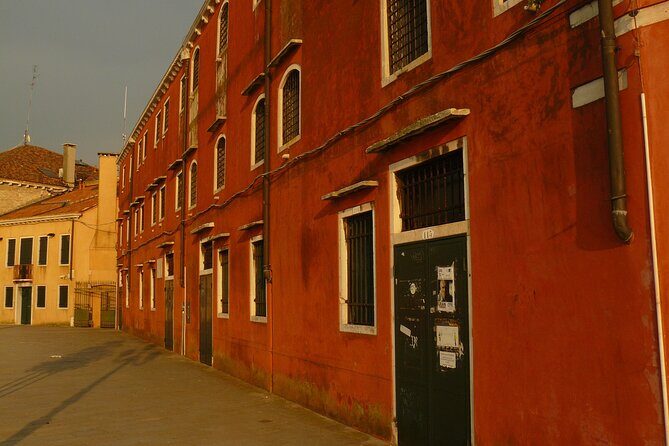
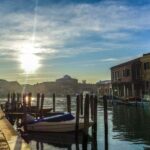
The sunset tour is built around the moment Venice changes color. As dusk arrives, you start getting softer contrast, warmer tones, and more reflections on water. If you’re chasing that cinematic look—canal glow, illuminated facades, and a calmer atmosphere—this is usually the better fit.
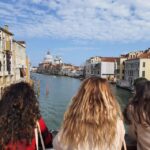
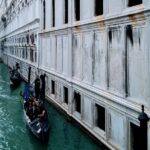
You’ll still cover major pieces from the daytime route, then add spots made for twilit photography. One key location is the Bridge of Sighs, which is particularly photogenic when the light shifts and the water begins to mirror the nearby architecture. Even if you’ve seen it before, photographing it at the right moment makes it feel new.
The route also includes Venice Lagoon views and other landmarks designed for golden light and the transition into evening city lighting. That’s where learning how to adjust for darker scenes comes in. One of the most helpful parts for photographers is getting guidance on handling low light so your images don’t turn into blurry disappointments.
St Mark’s Square returns near nightfall, when the illuminated architecture and the surrounding glow give you a different kind of framing challenge. The guide’s instruction helps you work with reflections in the square’s wet-looking surfaces and surrounding visual depth. It’s the difference between taking a photo of bright buildings and creating an image where the light feels like it belongs.
A practical heads-up from the on-the-street reality: evening in Venice can be crowded as well, especially around major sights. The tour approach helps by pairing the landmark time with smart walking choices, so you’re not always fighting the same bottleneck views.
If you want the easiest path to striking photos, sunset is often the move. Just be ready for more contrast and darker settings, which is exactly why the guide’s hands-on help matters.
Your guide’s teaching style: Vinicio and Mario’s hands-on critiques
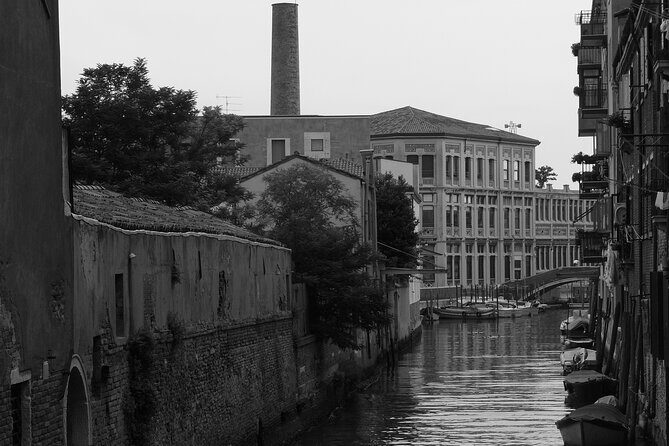
The most repeated theme in guides’ approaches here is direct, friendly coaching. Vinicio is described as patient with beginners and thoughtful about how Venice feels day to day, not just how it looks in a frame. Mario comes up as an engaging instructor too, with practical instruction and even hands-on critiques of photos during the walk.
This matters because photography lessons can either be vague or real. Here, the feedback tends to focus on what you are actually doing in the moment: perspective choices, how to place the horizon or vertical lines, and what to change when the light is shifting. If you’re using manual settings, you get help making those settings work for the scene you’re standing in. If you’re on a smartphone, you get lesson-style guidance on how to frame, control exposure as best you can, and get more consistent results.
One more detail I like: the guide doesn’t treat the photo lesson as a strict classroom. They also share stories and local context that make the images make sense. That’s why you come away feeling like you photographed Venice, not just objects in Venice.
And it’s not only for adults. Families often do well on this type of tour because the guide can adjust the teaching pace. Teens using cameras for the first time, or someone picking up a camera the day before, still benefit when the guide can translate the basics into action.
Possible downside: because this is a photography-focused experience, it works best when you actually want to learn. If you just want to walk around and point your camera without thinking, you may find the instruction feels like a lot.
Itineraries that feel flexible: how you get “your Venice” in 3 hours
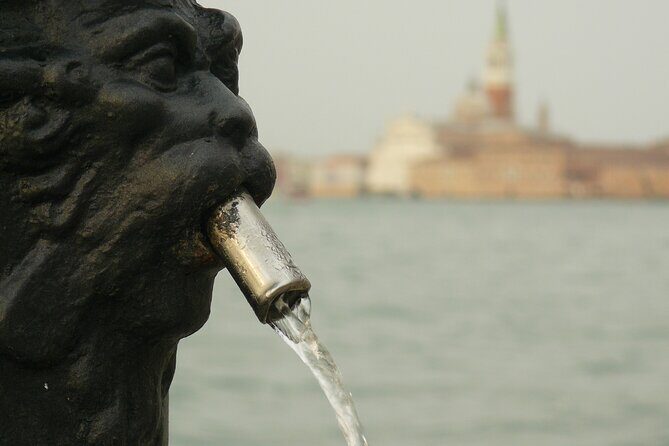
A lot of tours have a fixed checklist. This one is different in a useful way: the route is planned around your interests within the time limit. That flexibility is gold in Venice because the city is full of small “right place at the right moment” chances.
The tour starts near Gallerie dell’Accademia, Calle della Carità and ends back at the meeting point. Meeting there is convenient because it puts you close enough to central sights without forcing you to immediately start at the most crowded choke points.
Also, the tour runs rain or shine. Routes may change based on local conditions, which is important in Venice where weather and foot traffic can flip quickly. I appreciate that in real-world travel—your day stays alive even when the sky does its own thing.
One thing to plan for: walking time adds up fast. Based on what people describe, 3 hours can feel like a serious stroll and can reach high step counts. Build in the mindset that you’re on your feet, scanning, stopping, and restarting. If you hate walking, choose a different style of tour.
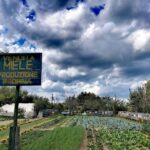
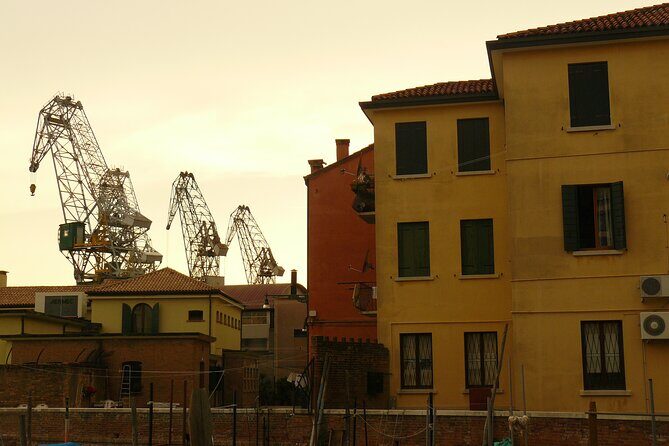
Finally, ask yourself what you want most. If you have a specific subject you’re obsessed with—like a particular boatyard spot—this kind of private planning works best when you flag that interest early. If you wait until the last minute, the guide may still try to help, but you shouldn’t assume every location is reachable on the fly.
You can also read our reviews of more guided tours in Venice



Gear and readiness: what “basic knowledge” really means
The tour works with phones and serious cameras, but the requirement is that you have basic knowledge of your device. That doesn’t mean you need to be technical. It means you should know how to turn your camera on, find basic menu settings, and understand at least a few controls.
Why that matters: low-light and twilight scenes move fast. If you’re still hunting for where your ISO or exposure setting is, you’ll lose the best few minutes. The guide’s help is meant to refine what you do, not replace the fundamentals.
Smartphone photographers are absolutely part of the crowd. People describe getting great results with iPhone-style cameras, and they learned practical ways to improve framing and settings behavior. Still, the better your baseline skill—how to lock focus, how to steady your shot, and how to avoid blowing out bright highlights—the more you’ll get out of the lessons.
If you’re using a DSLR or advanced digital camera, you can expect coaching that touches manual settings and how to adjust for changing light. Night-light scenes in St Mark’s Square are the obvious place where that pays off.
Quick practical note: bring a camera strap you’ll actually use, plus any small cleaning cloth you like. Venice gets humid and damp, especially near water, and lens smudges show up fast when the light hits.
Price and value: is $271.54 per person worth it?
At $271.54 per person for a 3-hour private experience, this is not a “cheap entertainment” activity. You’re paying for three things:
1) A pro photographer guide who teaches while walking
2) Private time that’s easier to personalize than a group tour
3) Time-sensitive photo planning across markets, squares, and low-light areas
If you’re a solo traveler, or you’re traveling as a small group who wants more than a sightseeing loop, the value can be strong. Private photo coaching can also save time later. Instead of sorting through blurry photos and asking what went wrong, you learn how to fix common issues on the spot.
One smart way to think about it: would you pay for a tutor for the exact moment you’re in Venice? If you care about print-worthy photos and better control of light and composition, this tour is priced like a lesson, not like a museum ticket.
If your budget is tight, or your photography interest is casual, you might choose a cheaper group tour or a self-guided walking plan. But if you want hands-on direction and want photos you can actually frame, this price starts to make sense.
Who should book this Venice photography tour?
This is a great match if you:
- Want to photograph beyond the main sightseeing crowd
- Care about composition, lighting, and storytelling, not just landmarks
- Travel with mixed camera gear, from smartphones to SLRs
- Appreciate a local guide who shares everyday Venice context
It’s less ideal if you:
- Don’t want instruction and prefer free-form sightseeing
- Hate lots of walking
- Have zero camera basics and aren’t willing to learn how to use what you bring
For first-time visitors, it’s especially useful because it helps you see Venice in a new way fast. For repeat visitors, it can be a shortcut to the neighborhoods and angles you might never find on your own.
Should you book it?
If you want photos that look like Venice’s real mood—daylight colors, market energy, and evening reflections—then yes, booking is a strong idea. The private format and pro teaching make a measurable difference, especially if you’re using manual settings or trying to improve your smartphone results.
If you’re mostly interested in checking off famous landmarks, consider a classic sightseeing tour instead. But if photography is part of your travel style, this is one of the more efficient ways to turn your walking time into images you’ll be proud of.
FAQ
What is the duration of the Venice photography walking tour?
The tour runs for about 3 hours.
Is the experience private or shared?
It is a private tour/activity, so only your group participates.
Where does the tour start?
The meeting point is near Gallerie dell’Accademia, Calle della Carità 1050, 30123 Venezia VE, Italy.
What’s the difference between the daytime and sunset tours?
The daytime tour focuses on daytime light and places like St Mark’s Square plus areas such as Rialto Market and the Mercerie district. The sunset tour is designed for changing twilight light, including Bridge of Sighs and Venice Lagoon areas, plus illuminated views of St Mark’s Square.
Can I bring a smartphone, or do I need a camera?
You can use smartphones as well as advanced digital and SLR cameras.
Do I need to know how to use my camera?
You must have a basic knowledge of your camera.
Does the tour run if it rains?
Yes, tours operate rain or shine, and the route may be changed based on local conditions.
Are tickets or admission included?
The activity notes an admission ticket as free, and the guide is included.
Is food included?
Food and drinks are not included unless specified.
Do I need to pay any special access fees?
On certain dates, day visitors staying outside of Venice may be required to pay a €5 access fee. You can check details and exemptions at https://cda.ve.it.
Cancellation: can I get a refund?
You can cancel up to 3 days in advance for a full refund, with the cutoff based on local time.